edibleimagesmichigan
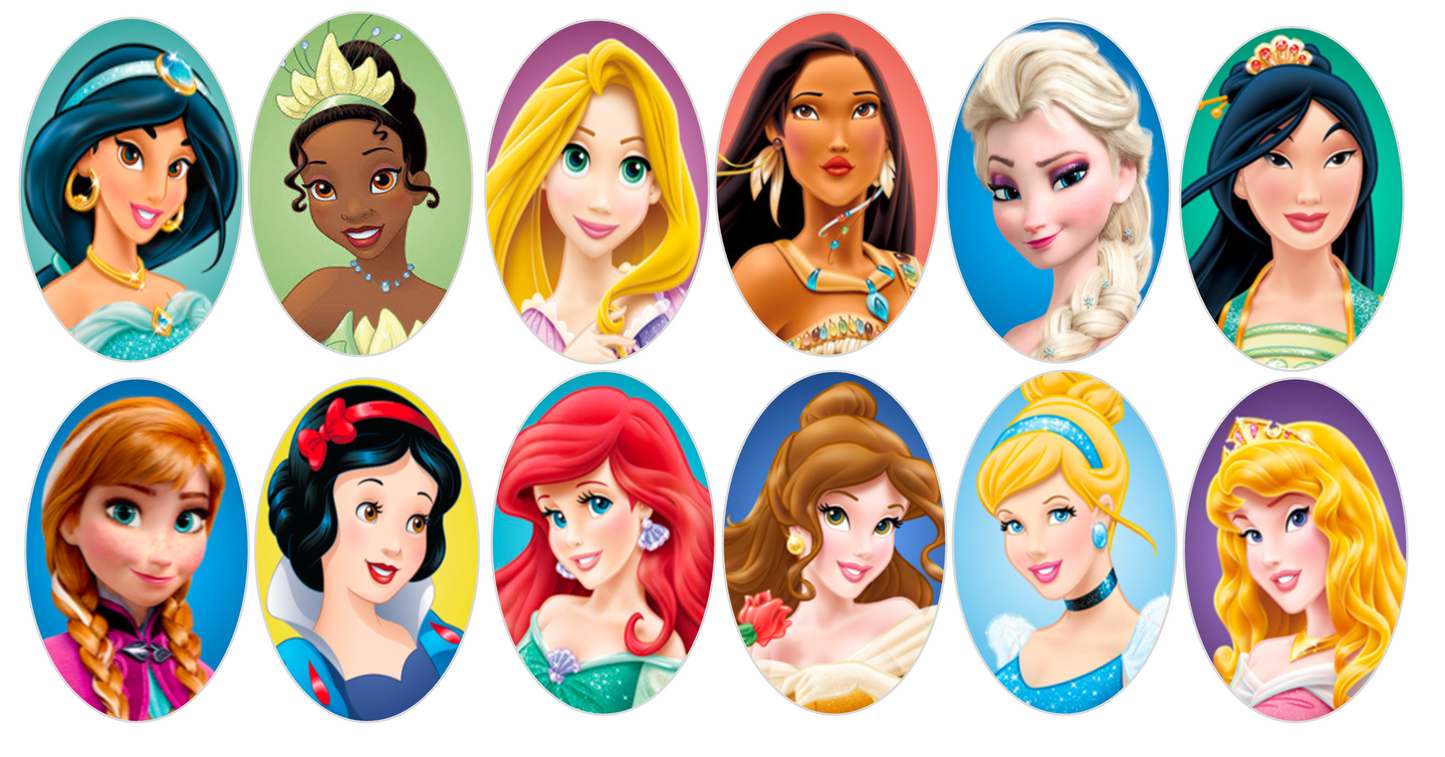
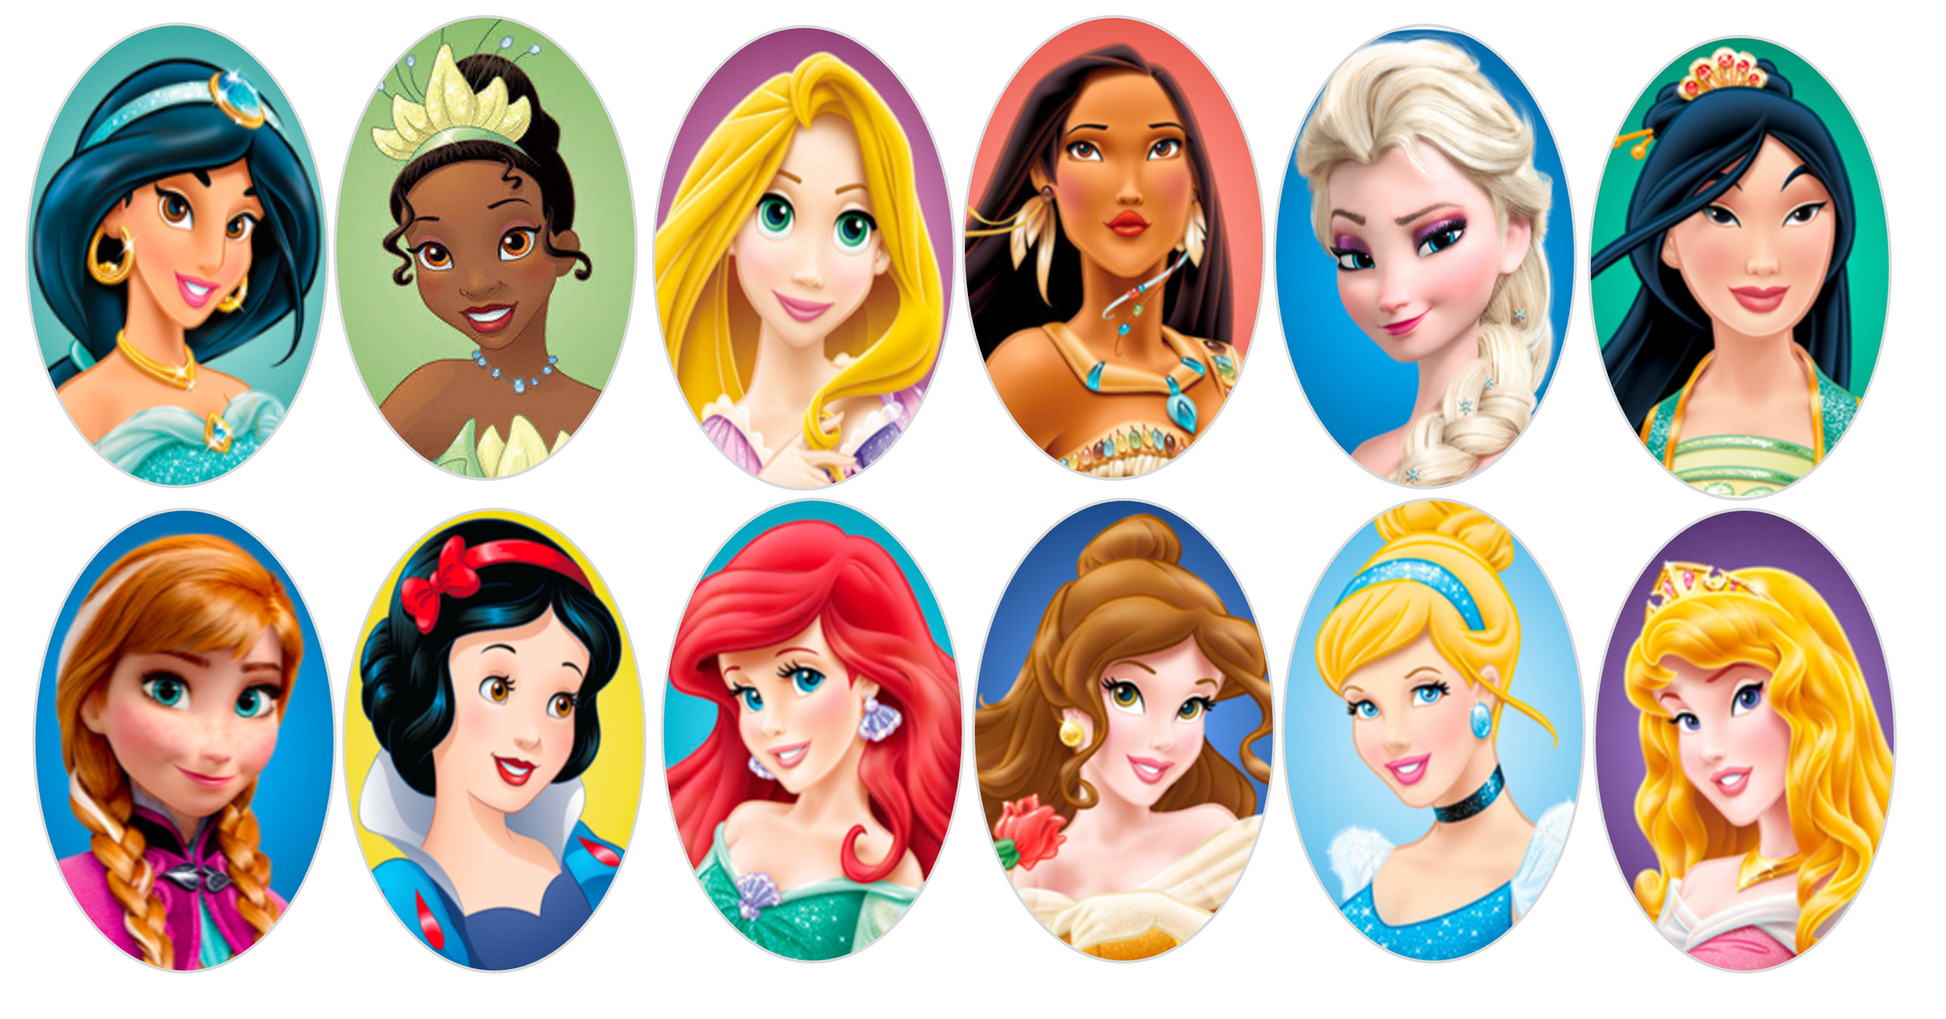
Set of 12 "Princess Mix" pre cut edible image OVALS for chocolate frames, choose your size
Set of 12 "Princess Mix" pre cut edible image OVALS for chocolate frames, choose your size
Couldn't load pickup availability
You are buying a set of 12- Princess Mix Ovals themed edible images
great for chocolate frames made with a mold
if I dont have the size you need for your mold, message me and I will add it
YOU CHOOSE- PRE CUT OR NOT PRE CUT
if you choose not pre cut, just use regular scissors to cut them out
PLEASE READ THE INFO BELOW BEFORE PURCHASING
please see the size comparison chart in photos
ingredients: wafer paper (potato starch, vegetable oil) and edible ink (food grade dyes)
kosher, sugar free, gluten free, vegan, nut free, dairy free
TWO PAPER THICKNESS LEVELS TO CHOOSE FROM
classic wafer paper is thin, slightly transparent, best to use white frosting or fondant behind the images to make the colors appear the brightest. Dark frostings will show through and the longer the image sits on the frosting the more it will melt into whatever color frosting is on the dessert. If you are making these days early and are using a non white frosting behind the image, I would recommend ordering the X-THICK wafer paper. It is the same product, but 3x as thick as classic wafer paper. You can put these on top of the dark colored frostings and they wont show through. They also wont melt into the frosting as much. NOTE- no wafer paper will completely melt into your frosting. You will always be able to peel it off the top. It has no taste and takes on the flavor of the frosting or edible glue that you use to adhere it.
THEY WILL COME READY TO USE, NO BACKING TO REMOVE, INSTRUCTIONS WILL BE INCLUDED
How to use edible images
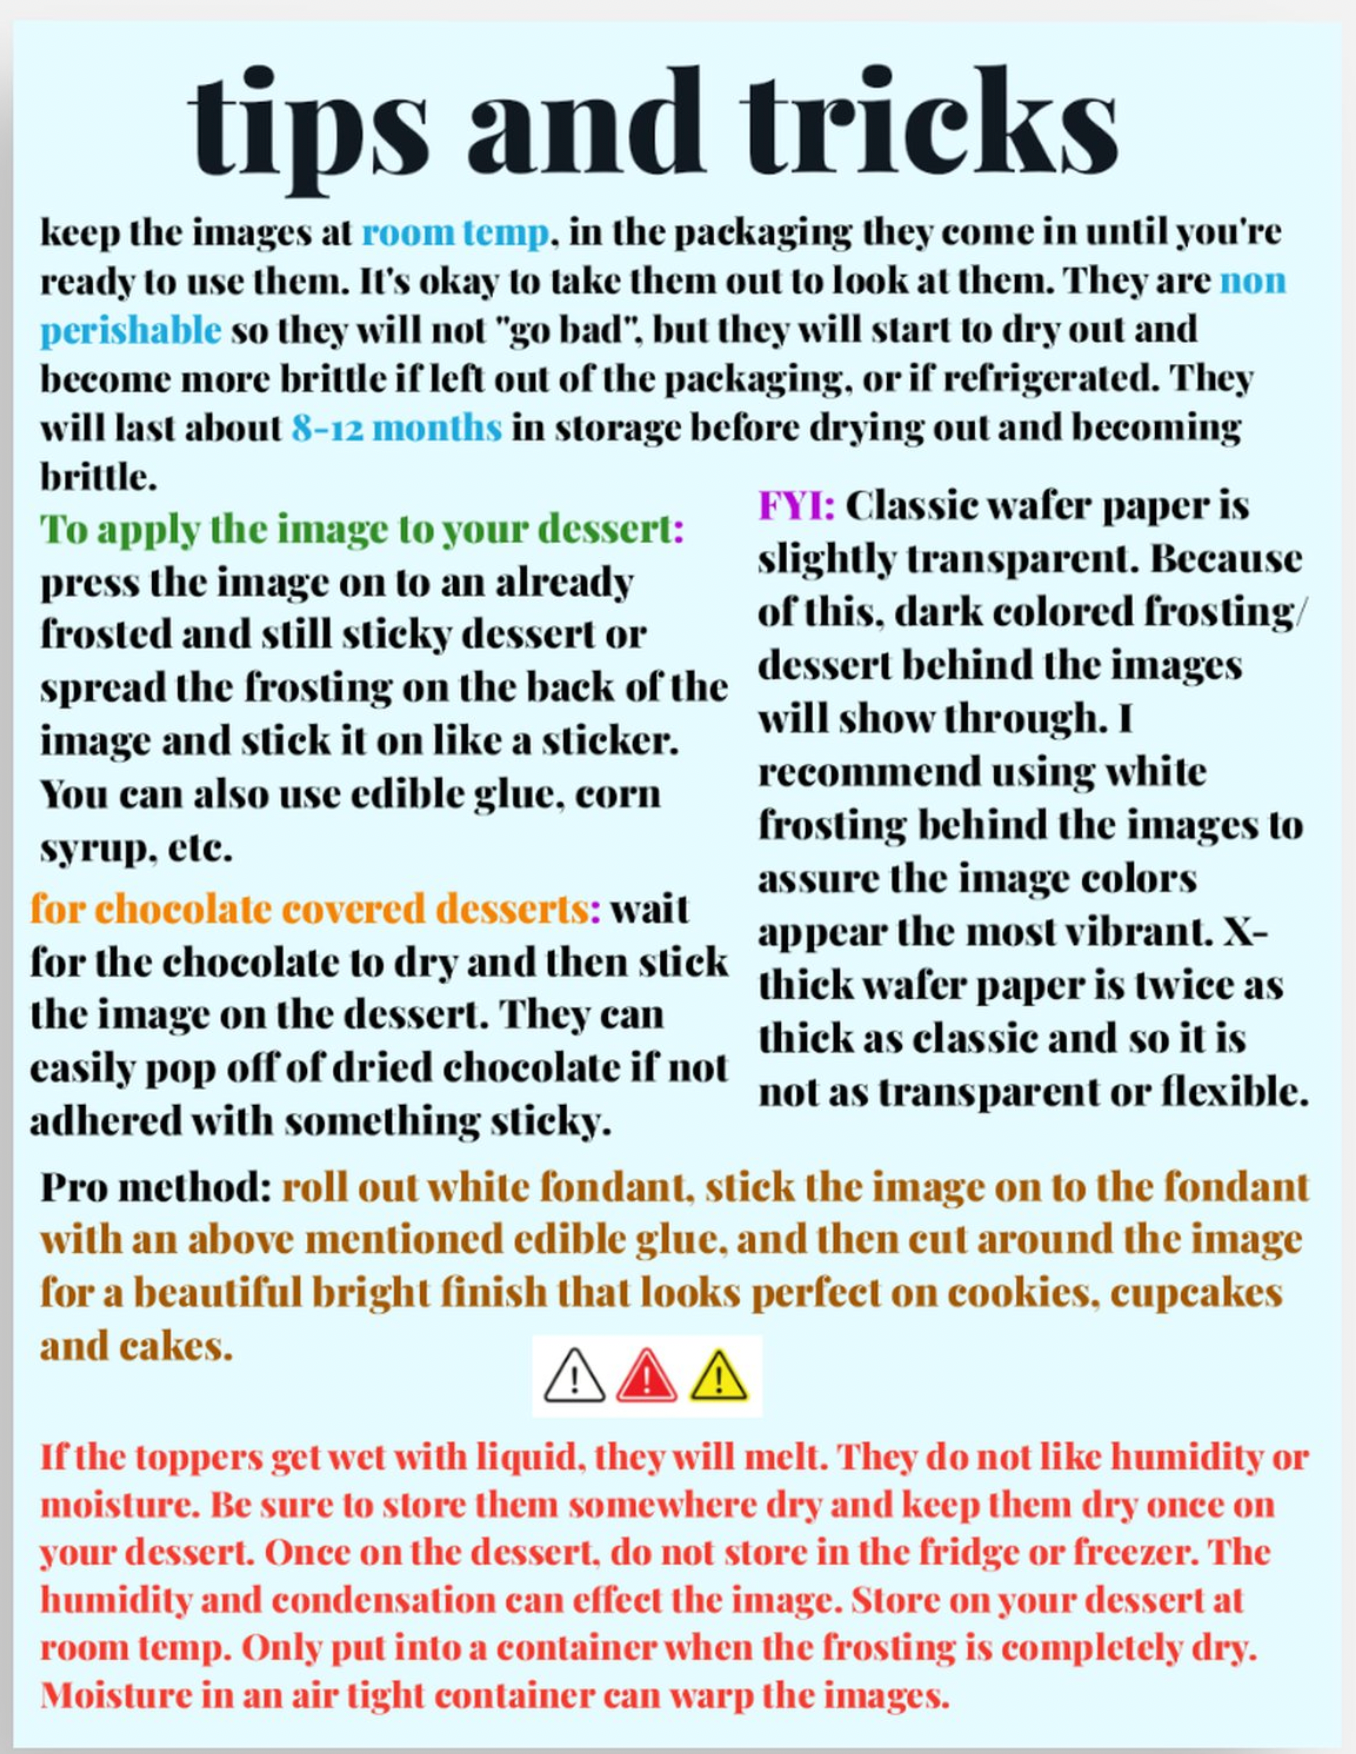
-Keep the edible images at room temperature in the packaging they came in until you're ready to use them. They are non perishable so they will not "go bad", but they will start to dry out and curl on the edges after about 6 months in storage.
-To apply the image to your dessert, simply press the image on to an already frosted and still sticky dessert, or spread frosting on the back of the image and stick it on to the dessert like a sticker. This method works well if youre putting the image onto fondant before putting on to the dessert. I recommend a buttercream type consistency frosting, but you can also use edible glue, clear piping gel, or corn syrup to stick them down. You can also press them down into royal frosting when its still wet. Some people like to pipe a border around the edge to secure it down, but that is optional.
-Classic wafer paper (not x-thick) is slightly transparent. Because of this, whatever color frosting is behind your image will show through. It is best to use white frosting or fondant behind the image as this will make the colors appear the brightest.-If the toppers get wet with liquid they will dissolve, they do not like wetness or humidity. However, you can use these as drink toppers. Simply place on top of your drink without pressing down, and they will slowly start to get smaller over the next hour as they dissolve, but will not lose the picture. FYI, if you're image has a lot of dark colors the dyes will spread into your drink as it dissolves if using as a drink topper.
Share


